General Features
- Activity Feed
- Calendar
- Creating an IP Whitelist
- Criteria System
- Customizing Tables
- Filters
- Importing
- Notes, Appointments, and Deadlines
Employees
- Departments
- Permissions
- Ownership
- Usage Logs
Other
- Database Management
- Reports
Recommended Settings
For the best possible experience within the administrative dashboard, we recommend the following setup on your computer.
Web Browser: Chrome, Firefox, Opera, and Microsoft Edge with cookies and JavaScript enabled.
Resolution: We recommend a minimum screen resolution of 1280×768.
Common Admin Views
List View

- The top (black) bar is the CRM overview. This gives you an indicator of contacts due, overdue contacts, opportunities, deadlines, and appointments, as of that day.
- Filters allow you to refine current listings based on specific criteria.
- Quick Add allows you to quickly create various items, like members, content, or contacts.
- Favorites menu provides quick access to contacts, accounts, and members flagged as “favorite.”
- The secondary navigation menu contains links pertinent to the current page you are viewing.
- The primary navigation menu contains navigation for the entire program.
- Search allows quick lookups for members, accounts, contacts, event registrations, transactions, and events themselves. Create advanced criteria searches by clicking on the bullseye.
- Page Sorting options on each list
- Table settings allows you to set your table headings.
- Update availability – if we have updates available, we try and notify you in the lower left-hand corner
- Status of background jobs is reported on the bottom bar.
Slider View
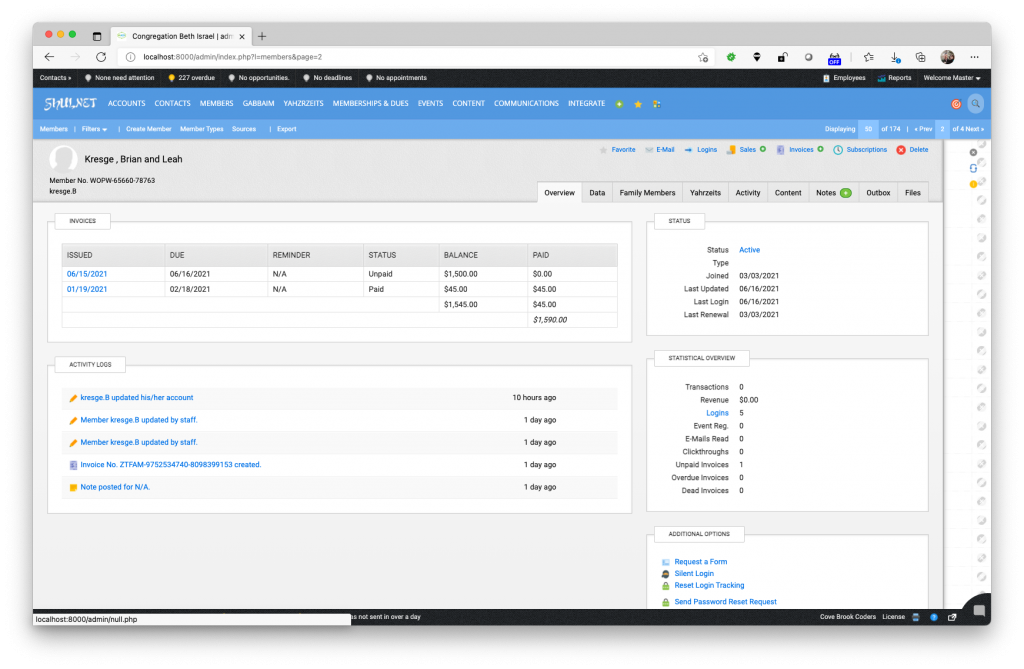
The slider is the second layer of the control panel, used to manage various items throughout the program, such as members, contacts, events, and more. When you click a result in a listings page, you will often see a window pane “slide in” from the left side.
Popup View
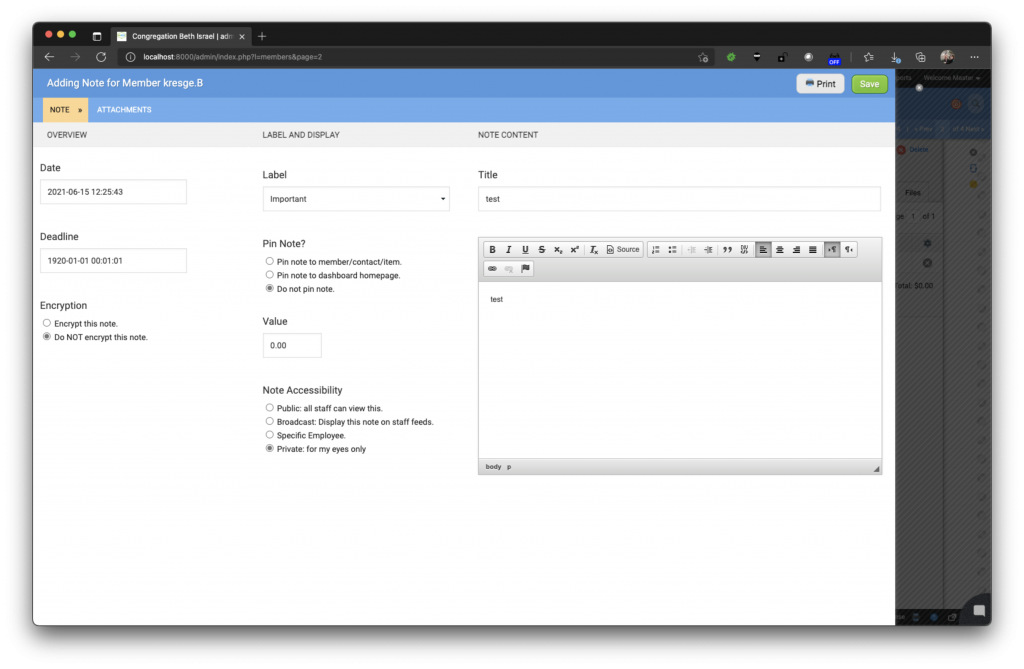
Popups are the third layer of the control panel, used to provide quick access to editing and often the addition of items.
There are two variations on the popup, a large one which covers most of the screen, and a smaller one for less intricate tasks.
You can close a popup by clocking on the x icon in the top right.